Centos8编译安装Nginx
一,nginx的官网:
1 | http://nginx.org/ |
二,下载与解压nginx
1,下载
1 | [root@centos8 source]# wget http://nginx.org/download/nginx-1.18.0.tar.gz |
2, 解压缩
1 | [root@centos8 source]# tar -zxvf nginx-1.18.0.tar.gz |
三,编译与安装nginx
1,configure
#–prefix 指定安装路径
#–with-http_stub_status_module 允许查看nginx状态的模块
# –with-http_ssl_module 支持https的模块
1 | [root@centos8 nginx-1.18.0]# ./configure --prefix=/usr/local/soft/nginx-1.18.0 --with-http_stub_status_module --with-http_ssl_module |
2,编译并安装
1 | [root@centos8 nginx-1.18.0]# make && make install |
四, configure报错的解决
说明:如果相应的软件包已安装不会报错,写在这里供参考
1,问题1,configure提示:
1 | ./configure: error: the HTTP rewrite module requires the PCRE library. |
解决:
1 | [root@os3 nginx-1.18.0]# yum install pcre-devel |
2,问题2,configure提示:
1 | ./configure: error: SSL modules require the OpenSSL library. |
解决:
1 | [root@os3 nginx-1.18.0]# yum install openssl openssl-devel |
五,测试编译安装的效果:查看nginx的版本
1 | [root@centos8 nginx-1.18.0]# /usr/local/soft/nginx-1.18.0/sbin/nginx -v |
六,如何查看nginx的配置编译参数?

1 | [root@centos8 nginx-1.18.0]# /usr/local/soft/nginx-1.18.0/sbin/nginx -V |
注意区分和上一条查看版本命令的区别: -v参数分别是小写和大写
七,使systemctl能管理运行nginx服务
1,运行的准备工作:配置日志目录
1 | [root@centos8 conf]# mkdir /data/nginx |
2,运行的准备工作:创建nginx用户
1 | [root@centos8 conf]# groupadd nginx |
#-g:指定所属的group
#-s:指定shell,因为它不需要登录,所以用/sbin/nologin
#-M:不创建home目录,因为它不需要登录
1 | [root@centos8 conf]# useradd -g nginx -s /sbin/nologin -M nginx |
3,简单配置nginx
1 | [root@centos8 conf]# vi nginx.conf |
内容:
指定运行nginx的用户和组是:nginx
1 | user nginx nginx; |
发生错误时要写入到错误日志(目录用上面创建好的)
1 | error_log /data/nginx/logs/error.log; |
指定pid的路径
1 | pid logs/nginx.pid; |
日志格式(取消注释即可)
1 | log_format main '$remote_addr - $remote_user [$time_local] "$request" ' |
指定访问日志的路径和格式(目录用上面创建好的)
1 | access_log /data/nginx/logs/access.log main; |
4,生成service文件:
1 | [root@centos8 ~]# vi /usr/lib/systemd/system/nginx.service |
内容:
1 | [Unit] |
5,启动服务
重新加载服务文件
1 | [root@centos8 ~]# systemctl daemon-reload |
启动:
1 | [root@centos8 ~]# systemctl start nginx |
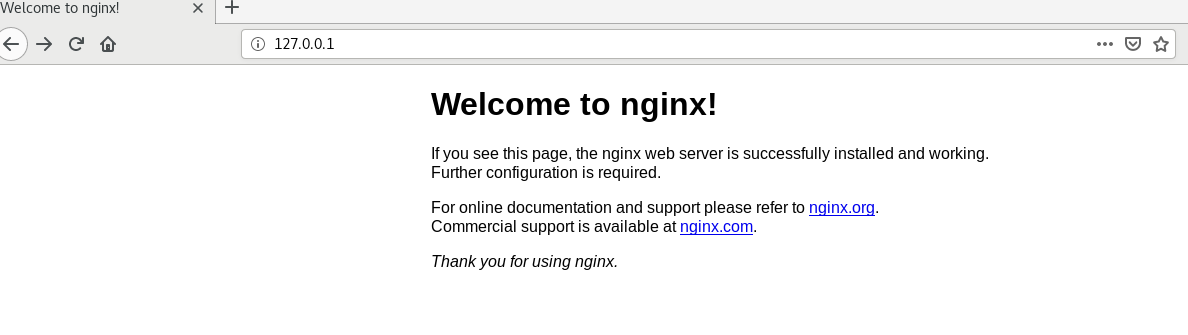
6,查看效果:
从浏览器访问安装机器的ip的80端口即可:
看例子截图:
7,查看日志目录
1 | [root@centos8 conf]# ll /data/nginx/logs/ |
日志已成功写入
八,查看centos版本
1 | [root@centos8 ~]# cat /etc/redhat-release |